
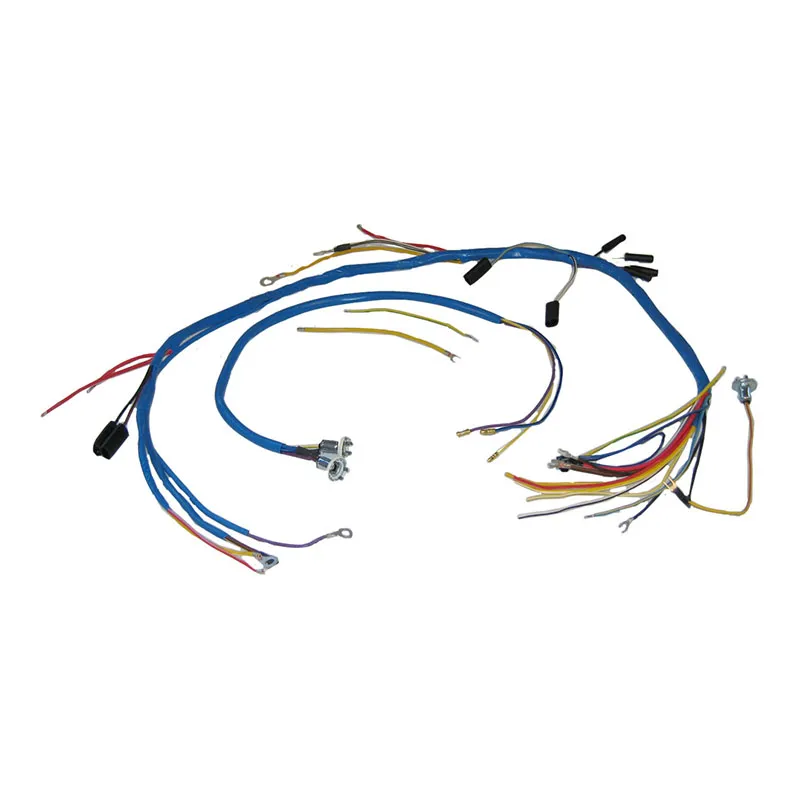
Description
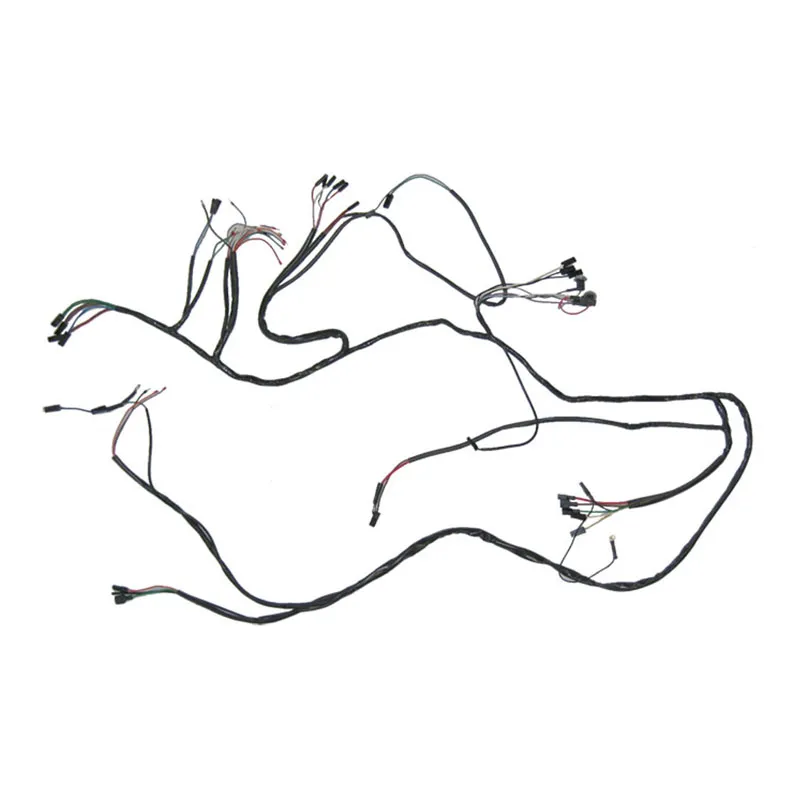
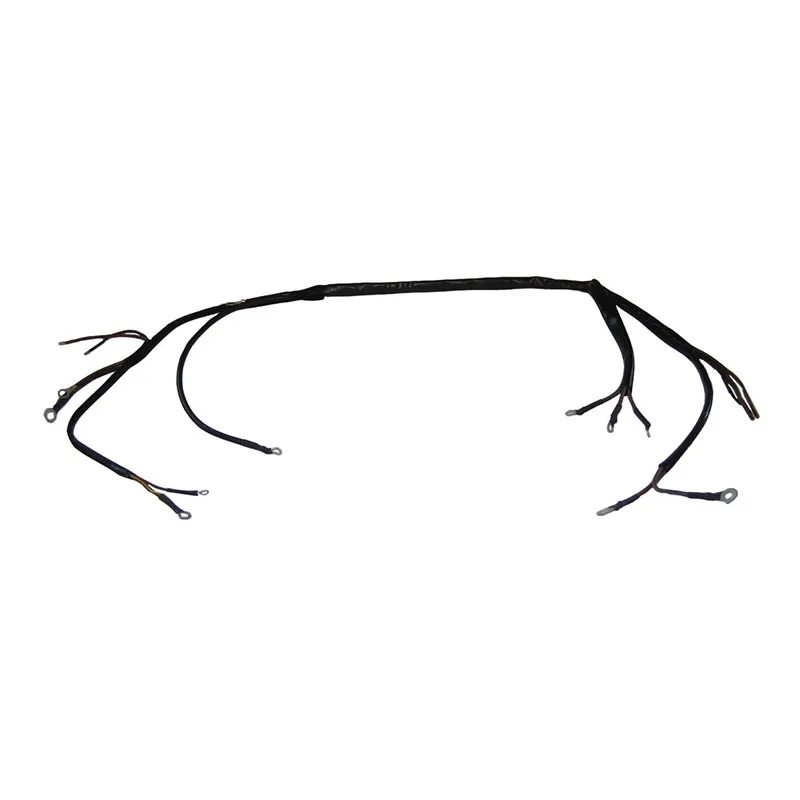
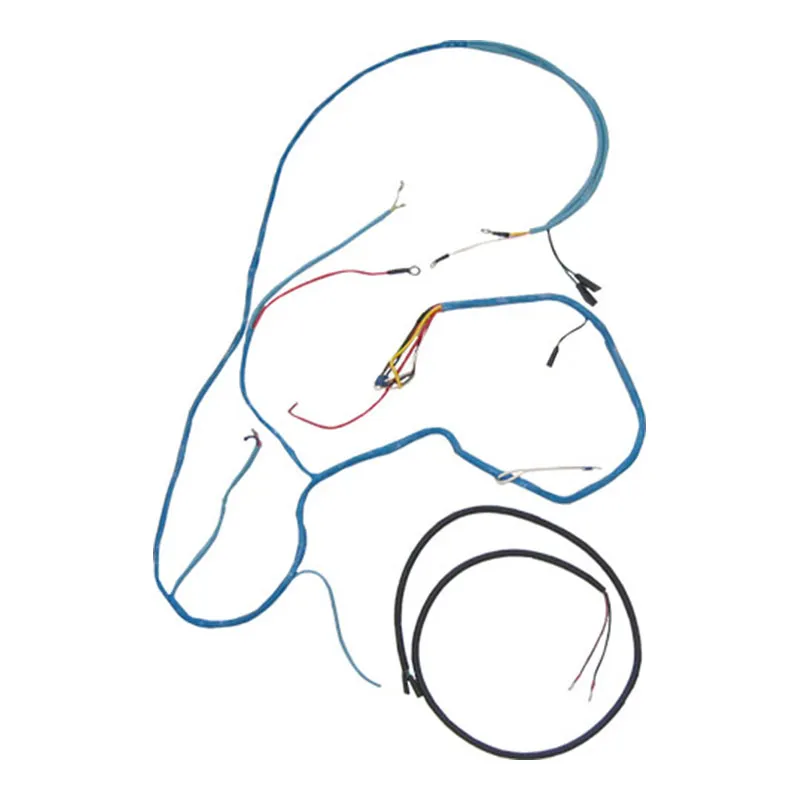
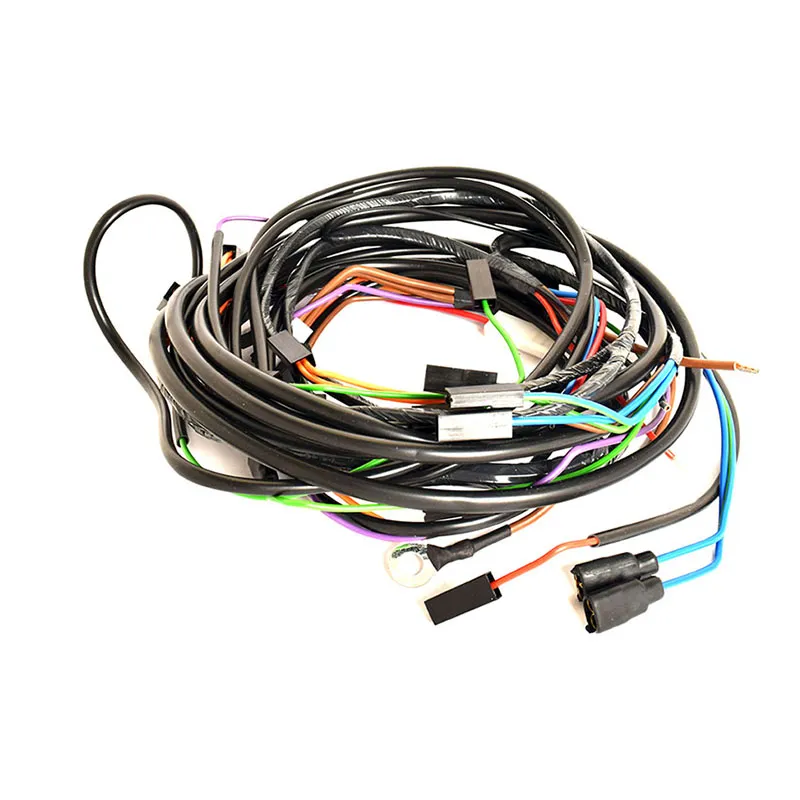
There’s nothing worse than electrical gremlins turning simple chores into all-day troubleshooting sessions. When your Dexta or Super Dexta starts acting up with dim lights, intermittent starting, or switches that only work when you wiggle them just right, you’re dealing with 60-year-old wiring that’s finally given up the ghost. This complete wiring loom replaces your entire electrical system with properly color-coded, correctly routed wiring that eliminates those mysterious shorts and gets you back to reliable operation.
What You’re Getting
- Complete replacement for every electrical circuit from battery to tail lights
- Correct color coding matches original factory diagrams so installation makes sense
- Modern insulation that won’t crack, absorb oil, or deteriorate from engine heat
- Pre-terminated connections fit all your original switches, gauges, and lights
- Includes proper grommets and routing clips to protect wires and prevent future problems
Built for Real Farm Work
Your Fordson Dexta or Super Dexta might be from the 1960s, but it’s still earning its keep with jobs like mowing, light cultivation, or running that old sickle bar mower. These compact tractors are perfect for small farms and tight spaces, but electrical problems can turn productive work into frustrating downtime. When original wiring starts failing after decades of vibration, heat, and weather exposure, it’s time to stop patching and start fresh with a complete system replacement.
Made to Last
This wiring loom uses modern materials that far exceed original durability – high-temperature insulation resists engine heat, chemical-resistant coatings handle fuel and oil exposure, and properly sized conductors ensure adequate current capacity. The wire gauge matches factory specifications for each circuit, eliminating voltage drop that causes dim lights and slow cranking. Every connection is properly crimped and sealed to prevent the corrosion that creates electrical mysteries down the road.
Installation Notes
Success requires a methodical approach – document existing connections even if the wiring looks like a bird’s nest, label components before disconnection, and remove the old harness completely to avoid confusion. Clean all connection points, especially chassis grounds that affect the entire system. Route the new loom following original paths and use the included clips every 6-8 inches to prevent vibration damage. Apply dielectric grease to all connections to prevent future corrosion – this is also a perfect time to replace any questionable switches or gauges while everything’s accessible.
Reviews
There are no reviews yet.