
Description
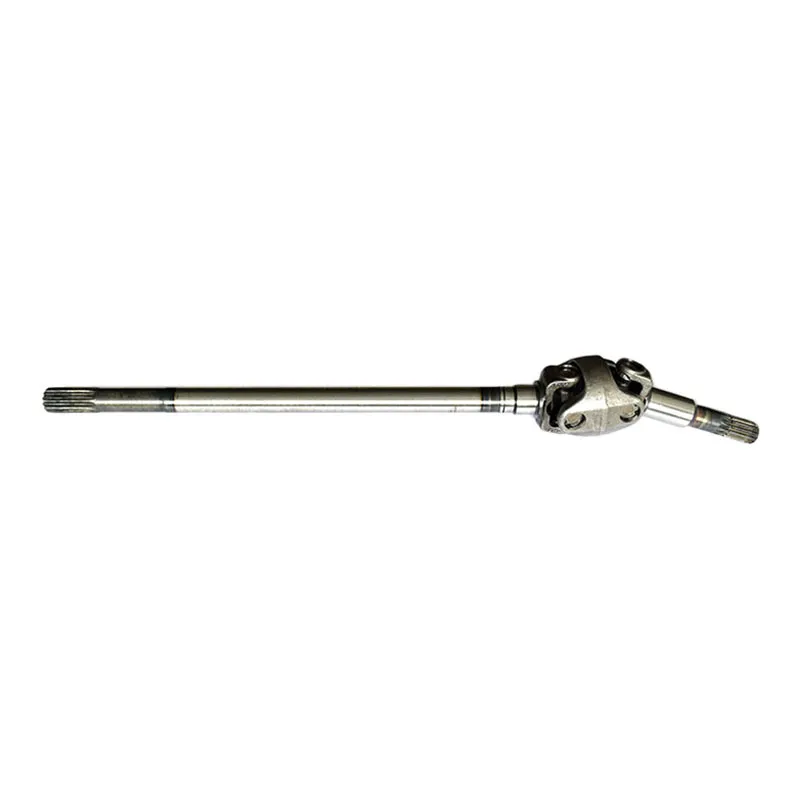
When your tractor starts bucking like an angry bull every time you put it under load, or you hear that distinct clanking sound from underneath, you’re likely dealing with worn universal joints in your driveline. This happens on any tractor that’s seen real work—the constant flexing and power transfer through these joints eventually wears down the needle bearings and crosses. It’s your U-joints crying for help, worn from thousands of hours transferring power through constantly changing angles. When those needle bearings wear out and the cross develops slop, you’re not just dealing with annoying noise – you’re courting disaster when it finally lets go at full throttle.
What You’re Getting
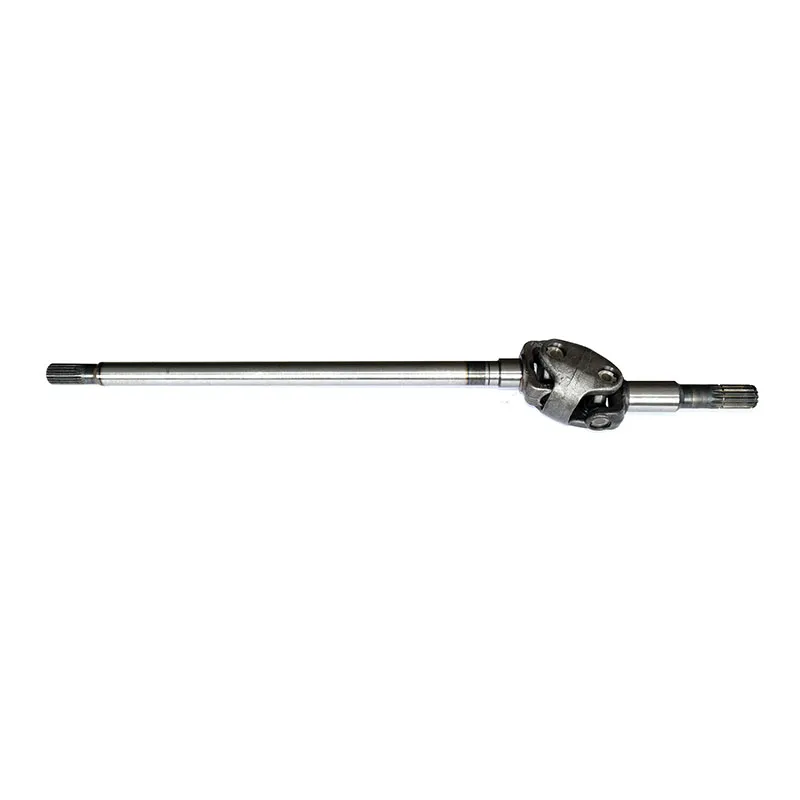
- Complete assembly with 947.5mm overall length that fits exactly where the old one came out
- Heat-treated construction that creates a hard wearing surface while maintaining a tough, flexible core that won’t snap under shock loads
- 12/22 spline configuration designed for proper torque transfer through your transmission
- Ready to install with all seals and joints already assembled
- OEM-quality construction that’ll stand up to the punishment of daily farm work
Built for Real Farm Work
This driveline assembly is engineered for the mid-range tractors that do the bulk of farming operations—plowing, cultivating, mowing, and running implements that demand reliable power transfer. Whether you’re running a Fiat 80-90 through heavy clay or a New Holland TL series pulling a heavy disk, this assembly handles the torque loads and constant flexing that comes with serious fieldwork.
Made to Last
This replacement features sealed needle bearings that keep contaminants out while holding grease in. The forged steel cross is heat-treated for maximum strength, while the bearing cups are precision-ground for smooth operation. The entire assembly is built to OEM specifications, so you’re getting the same quality that came on your tractor from the factory.
Installation Notes
This is a direct replacement that bolts right in where your old assembly came out. Always replace U-joints in pairs when possible – if one is worn, the other isn’t far behind. Mark your driveshaft position before removal to maintain proper balance. When installing, make sure the bearing cups are fully seated and the snap rings are properly engaged. Plan on a couple hours for the job, and while you’ve got things apart, it’s a good time to check your other driveline components.
Reviews
There are no reviews yet.